Posted on

How to Adapt Recipes for Your Food Site

Adapt recipes for your food site

Recipes, recipes, recipes. They’re so easy to find online. If you search right now, you can get over 1.5 million results for “oatmeal carrot muffins.”

Many of the recipes will be pretty much exactly the same. Some will be unique. Where do yours fall? It’s common practice for bloggers to find recipes online and adapt them for publishing on their own sites. And really, it’s common practice for just about ANYONE cooking to grab a recipe and make it their own based on their preferences, the ingredients they have on hand and so forth.


Adaptation is a great way to come up with new and exciting creations. But before you run off grabbing recipes online, rewording them slightly, and then publishing them…let’s talk about this a bit more.

The Legal Aspects of Adapting Recipes

We aren’t lawyers by any stretch of the imagination and this shouldn’t be considered legal advice, but rather something for your general information. Please do your own research, consult a legal professional, and proceed accordingly.

adapt recipes for your food website

Here’s the lowdown…

Ingredient lists are not under copyright protection (source). However, personal expression added to these instructions do make a recipe article subject to copyright protection, so copying and pasting is certainly very dangerous ground…legally speaking. We haven’t even discussed the relationship aspect of this and that will come later.

But recipe copyrights are a little more complicated than these simple facts. For instance, you can’t copy recipe compiliations or collections, such as in a cookbook. Even if these were composed of straightforward instructions and ingredients, presenting them together might infringe on someone else’s expression under copyright law.

If you want to use a photo from the original food site for your curated recipe, you need to ask permission to do so first. Many people don’t, but copyright lawyers will tell you that online infringement cases are rapidly on the rise—especially with graphics.

In regard to recipe titles, similar logic follows. A recipe title like “Chickpea and Pineapple Couscous” is not a copyrighted since it is composed strictly of ingredient names. However, “Marvela’s Mahhhvelous Couscous Cascade” is a personal expression; meaning you shouldn’t use that title—even if you change other things about the recipe.

Acceptable Ways to Use Other People’s Recipes

You can duplicate someone else’s recipe on your blog in three legal ways:

  • Getting permission to reproduce it exactlyusually with a credit or link. This is the safest way to present someone else’s recipe… but it’s not always the most imaginative way. However, it might be a great way to make a new connection with a fellow food blogger and that’s a great thing.
  • Curating the recipe—Presenting a little snippet about the recipe, with your own thoughts added and linking back to the recipe is perfectly acceptable and is great publicity for the recipe publishing site.
  • Adapting the recipe— This involves giving the recipe a unique title, modifying the ingredients to your own preferences and/or cooking it in a different way. But go the extra mile on this method and link back to the original recipe with an “adapted from” credit. It’s common courtesy and again, is a great way to start building connections with others with similar interests.

When in doubt, always ask permission. Explain exactly why you want to reproduce a recipe and show the benefit this will bring the site owner and her readers. For example, “it’s the best version of Shepherd’s Pie I’ve ever tried, and I’d like to tell my readers about it.”

And really, it’s just good manners to ask permission. Say something like: “I’d like to feature your recipe in summary form…” or “I’d like to include your recipe in this month’s collection of…” Be sure to give the site owner adequate time to respond.

Of course, you don’t always have to ask permission, but it’s just courteous to do so. It also tips you off to overly-touchy or possessive site owners, if they say “no” treat it as big, fat warning sign you might be sued over something. There are plenty of other recipe publishers that are happy to work with you, so move on.

Instead of Adapting, Try Testing and Sharing

If you see the perfect recipe you’d like to try on another website, there’s no need to try to mix up the ingredients and try to reword things just to make it look like you created the recipe. One of the easiest ways to create great content for your readers is to test the recipe, take some photos and share your experience with your readers. Then link to the recipe.

More Tips on Adaptation: Making a Recipe Your Own

Adapting the recipe completely is a safe approach, whenever possible, test your recipe first. If you can’t test it, you may as well simply curate the recipe by introducing it and link to the original source, so your readers can try it out themselves. When adapting a recipe, make the recipe your own by giving it a personal twist. Tell an anecdote about the time you were caught in a snowstorm in 2002 and it was the only thing you had to eat for three days—but you didn’t get tired of it. Or before presenting your “Lisa’s Ultimate Lime Chiffon Pie”, tell about the time you were pregnant with your twins and you tried every lime recipe you could get your hands on. Or talk about how you discovered that anchovies were the perfect substitute for steak sauce in your “Surf ‘n’ Turf Tornado.”

It’s a win-win for all.

You get to taste some awesome food. You readers are introduced to your experience and a great recipe. The original recipe creator gets credit for her hard work. And then, at the end of it all, you get the praise and loyalty from your audience that loves the content you share. Plus, you create goodwill with the original recipe creator and open the doors to a more cooperative business relationship.

Build Your Community

No matter how you approach using other people’s recipes, never be afraid to give another food blogger credit–even if you’ve adapted their cake recipe significantly to suit your gluten-allergic daughter.

Above all, food blogging is all about community. (Did you know you can connect with nearly 1,600 (and counting!) food-loving bloggers in our FREE private KitchenBloggers Facebook community? Check it out here!)

Your readers and as your fellow site owners will appreciate the added value your honesty and generosity brings. They will trust your recipes, bookmark your site—and visit you again and again.

Posted on

“Tastes of Summer” Recipes with Photos PLR Bundle

Taste of Summer

Save Time & Money with Our “Done-For-You” Food Content

If you’re a busy blogger, you know it’s not always easy to develop new recipes, write informative product reviews, create awesome social media updates AND take great food photos all the time.

Fortunately, we can help! In this large PLR package, you will find kitchen-tested recipes with high-quality food photos, social media graphics and plenty of other easy-to-monetize food content for your blog!

Here is What’s Included in Our Big “Tastes of Summer” Food PLR Package:

15 Themed Recipes (most with original photos!)

3 Cheese and Bacon Stuffed Mini Peppers – WITH original photos
Spicy Cherry Chutney – (no photos)

Grilled Bone-In Pork Chops with Herbed Salt Rub – WITH original photos

Pulled BBQ Pork Sliders – WITH original photos

Grilled Summer Vegetable Medley:  Zucchini, Squash, Bell Pepper and Red Onions topped with Herbed Butter – WITH original photos

Baked Sweet Potato Fries – WITH original photos

Broccoli and Bow-Tie Pasta Salad (dressing recipe included) – WITH original photos

Cauliflower & Kale Salad (dressing recipe included) – WITH original photos

Mixed Green Salad with Warm Goat Cheese “Croutons” (dressing recipe included) – WITH original photos

Stuffed Pineapple Fruit Salad (dressing recipe included) – WITH original photos

Fresh Ginger and Lemongrass Lemonade – WITH original photos

Spiced Watermelon Margarita – (no photos)

Warm Peach Cobbler – WITH original photos

No-Churn Salted Caramel and Pecan Ice Cream – WITH original photos

Salt-Cured Lemons, Tomatoes & Strawberries – WITH original photos

50 “Tastes of Summer” Themed Photos – ALL with Recipes – Here are a Few Examples:

10 Theme-Related Social Media Graphics – Here are 3 examples:

“21 Tips” Sheet: 

Inside, you’ll find 21 theme-related cooking tips – great for newsletters, social media updates and blog post ideas

Think of all the time and money you would spend shopping for and buying all of these ingredients, testing each recipe to get it “just right,” and then taking your own quality photographs.  That doesn’t include all the time it would take (or money you’d need to pay someone else) to create your own social media graphics or write in-depth, informative product and cookbook reviews.


You would EASILY spend hundreds of dollars (and tons of time) creating all of this high-quality material on your own, but you can grab your license today for all 80 pieces of content included in this package for less than 37 cents a piece!  (You will pay at least $1 per small stock photo elsewhere, and they do not include related recipes).

Download Your Copy Today for Just $39!

Add To Cart

Note: This PLR package is exclusive to KitchenBloggers.com – if you see it sold elsewhere, it is in violation of our purchase agreement

Posted on

The Big List of Food Website Monetization Ideas

Food Website Monetization Ideas

If you’re a food or lifestyle blogger, you may be pondering how you can monetize your website effectively. In this post, we’ve put together more than 50 easy ideas to help you get started! 

You Don’t Need Big Traffic Numbers

Instead of waiting for your traffic to build, consider alternate ways to monetize your site – and challenge yourself to use a combination of ways. For example, instead of depending on Amazon to build all your affiliate links, search for alternate programs that pay higher commissions.

One way is to go directly to the manufacturer or vendor. Often, they will have their own affiliate programs via platforms like CJ.com, Share-a-Sale.com, or other networks. In many cases, you’ll earn much more by going this route vs. the 4% you can earn with Amazon.

Doing a bit of homework before you start promoting can pay off quite well.

However, even though Amazon may not always be the best program for earning high commissions, it is still a great research tool. If you want to just start browsing for kitchen products, browse the kitchen section of their website. (aff. link)

There are also a lot of direct sales programs related to food and as long as they allow their representatives to sell online only and don’t have any stringent sales requirements, the commissions can be quite attractive, as well.

Your Own Products & Services

Don’t forget about your own products and services! If your goal is to blog about food and turn it into a career, selling your own products and services is important. If you skip this step, you’ll be missing out on a lot of revenue.

Think about it… Your followers like you. They open your emails and visit your site over and over again because they like your stuff. So when you have a product that YOU created, they are going to jump at the chance to buy it.

Plus, when you have your own products and services, you get to keep all the profits. That usually means more in your pocket per sale than if you’re promoting through an affiliate link.

The Big List of Food and Lifestyle Blog Monetization Ideas…

Here’s a starter list of Monetization ideas for you. Many of these can be sold through affiliate links, but don’t skip options like selling your own products and services. That way, you can take yourself from being a blogger to a full-fledged business owner.

  • Accepting paid sponsors and sponsored posts — do a quick Google search of where and how to find these opportunities!
  • Ad networks like Google Adsense
  • Appliances like blenders, juicers, food processors, refrigerators, stoves, freezers, rice cookers and more
  • Baking accessories
  • Baking classes
  • Cake or cookie decorating
  • Calorie and other counters
  • Catering
  • Coffee and Tea
  • Cooking classes
  • Cookware like roasting pans, baking dishes, pots, pans, woks and more
  • Coupon books with coupons from local vendors and restaurants
  • Dehydrated food sales
  • Diet and/or fitness programs
  • Ebooks or printed books
  • Food cart
  • Food gifts and gift baskets
  • Freezer cooking service (teach freezer cooking in the home)
  • Freezer-safe storage products
  • Fresh meals in a box service
  • Gadgets like garlic presses, meat thermometers, food dehydrators, salt and pepper mills, mandolin slicers and more
  • Gourmet food sales
  • Grocery list planning
  • Grocery shopping and errand services
  • Herbs and spices
  • Indoor herb garden kits
  • Food or Wine of the Month clubs
  • Kitchen cleaning products
  • Kitchen decor
  • Kitchen organization service
  • Kitchen remodels
  • Knives and food slicers
  • Lunch and food storage containers
  • Meal delivery service
  • Menu planning service
  • Nutrition counseling
  • Pantry organization tools
  • Party decorations
  • Party planning
  • Personal chef services
  • Place settings, tablecloths, placemats, centerpieces and more
  • Pre-made soup or cake mixes
  • Recipe books
  • Recipe organization tools
  • Restaurant
  • Restaurant web design
  • Seed bank
  • Sell advertising directly to companies and other bloggers
  • Vegetable garden set up and maintenance
  • Vitamins and supplements
  • Wine and beer making kits or services
  • Wine, Beer and other alcoholic beverages

Whew! That’s over 50 ideas to get to you started… What other ideas can you come up with?

Take a moment and jot down 2 or 3 ideas that appeal to you – either from this list or your own – and start brainstorming ways you can start Monetizing your site today.

And hey, did you know our Bite-Sized Bundles monthly membership package includes quick and easy monetization ideas each and every month? Not a member yet? Join us here.

Posted on

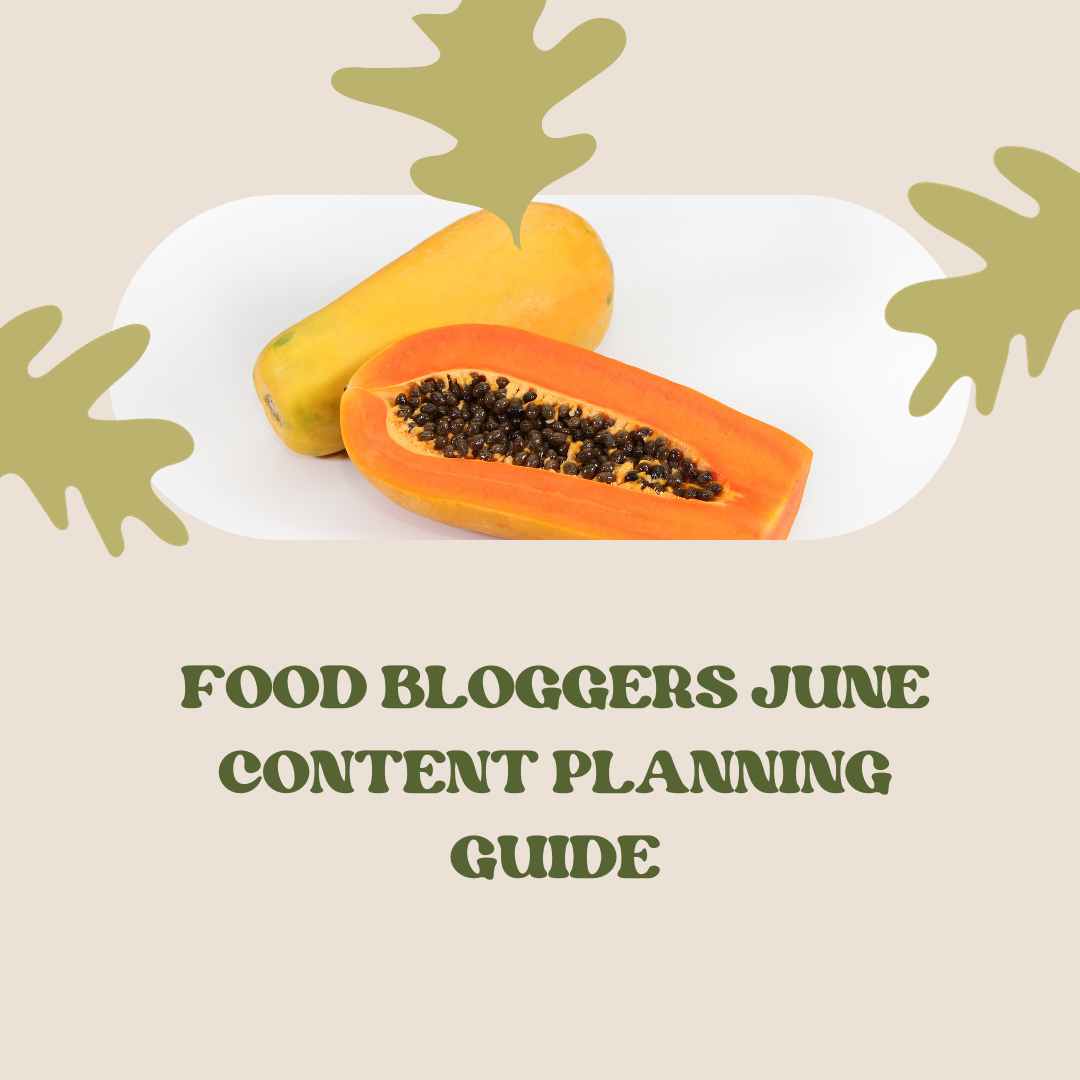
Food Bloggers June Content Planning Guide

Don’t leave your food blog content calendar to chance! Check out our all-new Monthly Content Prompts for fresh content ideas, ready-to-publish food content (with our original food photos!), editable social media and/or recipe card templates, and other blog planning materials.


Summer is almost here, which means lazy days and sultry evenings filled with backyard barbecues, picnics by the lake, and making warm gooey chocolately s’mores over a blazing campfire.


When it comes to recognized food themes… June brings plenty of candy, chocolates, and ice cream-themed days, but there is an Eat All Your Veggies day mid-month to help balance it all out.  🙂


So, let’s jump right in and have some fun with these upcoming food themes…

June Food Themes:


If you’re looking for a monthly theme for your food-related blog, here are the National Food Months for June, so you can celebrate and/or indulge all month long.


      • National Candy Month
      • National Dairy Month
      • National Fresh Fruit and Vegetables Month
      • National Iced Tea Month
      • National Papaya Month
      • National Steakhouse Month
      • National Turkey Lover’s Month

Here are a few daily food themes for June:


      • 1 – National Hazelnut Cake Day
      • 2 – National Rocky Road Ice Cream Day
      • 3 – National Egg Day
      • 3 – National Donut Day (First Friday)
      • 4 – National Cheese Day
      • 4 – National Frozen Yogurt Day
      • 4 – National Cognac Day
      • 5 – National Gingerbread Day
      • 6 – National Applesauce Cake Day
      • 7 – National Chocolate Ice Cream Day
      • 8 – Jelly-Filled Donut Day
      • 9 – National Strawberry-Rhubarb Pie Day
      • 10 – Herbs & Spices Day
      • 10 – National Iced Tea Day
      • 11 – National German Chocolate Cake Day
      • 12 – National Jerky Day
      • 12 – National Peanut Butter Cookie Day
      • 13 – Kitchen Klutzes of America Day:
      • 14 – National Strawberry Shortcake Day
      • 15 – National Lobster Day
      • 16 – National Fudge Day
      • 17 – Eat All Your Veggies Day
      • 17 – National Apple Strudel Day
      • 18 – National Cherry Tart Day
      • 18 – International Picnic Day
      • 18 – National Sushi Day
      • 19 – National Dry Martini Day
      • 20 – National Vanilla Milkshake Day
      • 21 – National Peaches and Cream Day
      • 22 – National Chocolate Éclair Day
      • 22 – National Onion Rings Day
      • 23 – National Pecan Sandy Day
      • 24 – National Pralines Day
      • 25 – National Catfish Day
      • 25 – National Strawberry Parfait Day
      • 26 – National Chocolate Pudding Day
      • 28 – National Tapioca Day
      • 29 – National Almond Buttercrunch Day
      • 30 – National Ice Cream Soda Day

So there you have it – plenty of inspiration to help plan out your June food content calendar!


Struggling to figure out what to write about – and when? Take a look at our all-new Monthly Content Prompts to see how KitchenBloggers can help you plan your next 90 days of content quickly & easily!

Click here for more details:

https://kitchenbloggers.com/content-prompts

Til Next Time,

Trish

Posted on

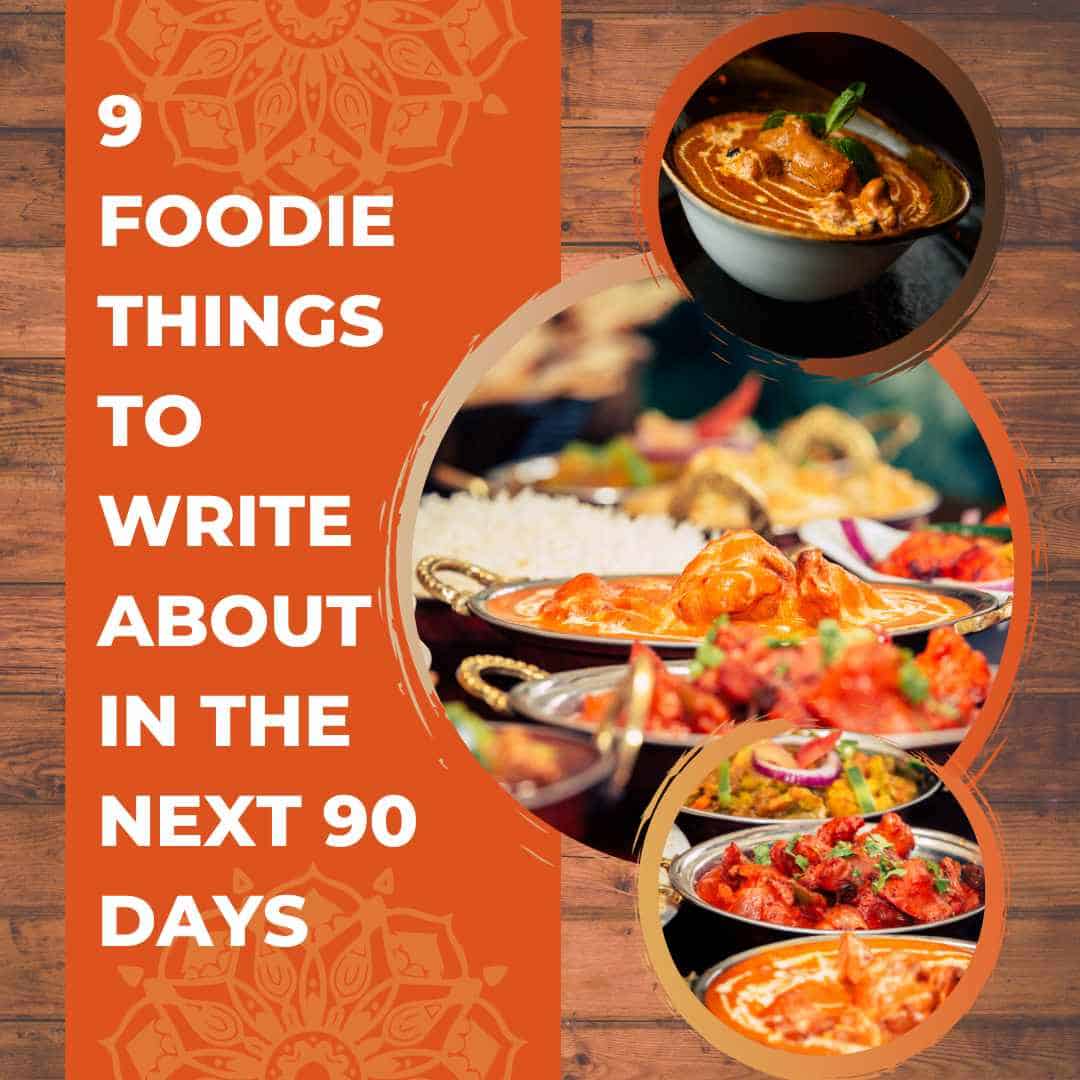
9 Foodie Things to Write About in the Next 90 Days

In January of this year, I expanded the scope of the Monthly Content Prompts packages to cover several months ahead vs. focusing on just one month at a time. My goal in doing so was to make it a better content planning resource for your business.


The March, April, and May food themes are ready to download and the new Content Prompts guide I’m working on covers a 90 day view of what’s ahead (plus plenty of ideas to help you Monetize these themes).


Here’s a quick look at a few upcoming themes or trends you can cover…

9 “Foodie” Things to Write About in the Next 90 Days:

  1. Food Gardening. Spring is almost here and your readers are itching to get their hands in some dirt. The trend toward growing and preserving your own food is expected to grow as food prices continue to rise. Plus, April is National Garden Month and May includes National Herb Week. There are tons of opportunities to Monetize this theme with gardening equipment, courses, books, etc…
    .
  2. Earth Day. (April 22) Ideas to consider include the zero waste food trend, composting, organic gardening, and sustainable food sources.
    .
  3. Cinco de Mayo. Lots of fun topics surrounding the history behind Cinco de Mayo and your favorite recipes that fit the theme. The brand new Beef Enchilada and Frozen Strawberry Margarita recipes I’m working on this week fit this theme (and several others).
    .
  4. The Holidays. (yikes!) Due to the pandemic, holiday pinning started in April last year. I have a feeling it won’t be as early this year, but by July you’ll want to have your holiday-themed content ready to roll.
    .
  5. Mother’s Day – Start pulling together your favorite breakfast/brunch recipes and ideas and creating/updating an annual holiday gift guide for the occasion to Monetize.
    ..
  6. Eggs. May is National Egg Month and National Eggs Benedict Day is in April. It’s hard to think of a more versatile food item than the humble egg. The possibilities for round-up style posts are plentiful, including baking/desserts, salads, Keto/Low Carb, breakfast/brunch, and different ways to prepare.
    .
  7. Summer Food Themes. (Northern Hemisphere) Picnics, grilling, cold or frozen beverages, ice cream treats, and BBQ are a few topics you can dig into over the weeks and months ahead.
    .
  8. Mediterranean Diet. May is National Mediterranean Diet Month, so this is the perfect time to talk about the history and philosophy behind this popular way of eating, as well as your personal success stories if you follow it yourself. As always, share your favorite recipes that fit this theme.
    .
  9. Dairy. June is National Dairy Month and there are tons of daily food themes throughout the next 90 days covering everything from vanilla milkshakes to cheese fondue to ice cream sodas. If it fits your niche, this is a great time to talk about dairy allergies and sensitivities, as well as recommended alternatives and substitutions.

I go into more detail (including Monetization) on these and other themes and trends in each new Content Prompts package.


Note: The “February” pack is still available for download – it includes a lot of content and information for March/April.

Posted on

My Super Simple 2-Step Process to Fast Creation

Do you want to create your own digital products – but aren’t sure where to start?


If so, you’re in the right place, because I’m about to share with you how I was able to go from spending months (and months) to create one single product to releasing 2-3 new titles every month.


By the way… Even if selling your own products isn’t your goal (and ultimately, it should be), this process can help you do just about anything related to your online business faster and more efficiently.


Ok, I know that’s a big promise – but I’ll show you what I mean in a minute. But first, let’s talk about that fast 2-Step Product Creation Process I was talking about:

Outline & Document Everything

I absolutely LOVE to look back at my old brainstorming journals (we’re talking circa 2012 – 2015 or so), because I often find little nuggets that I can pick up and run with today.


However, I’m also always equally amazed at how freakin’ long it used to take me to release one single product. (We’re talking months and months to get one product out the door… Which is kinda funny now considering I just added the 265th product to this site!)


Back then, I struggled to create new products because I couldn’t wrap my brain around exactly what I wanted to create – and all the steps from A to Z I needed to follow to do so.


Instead, I’d spend months brainstorming and making lists of all the fantastic content I wanted to create… instead of actually, you know, creating said content.


Because I didn’t know how.


So… What changed??


I started outlining and documenting EVERYTHING.


One day something finally “clicked.” I picked ONE project* from my topic brainstorming lists and started outlining everything I wanted to include in the new product – and then I documented every step as I fumbled and stumbled my way through putting it all together.


*Super Important: Work on just ONE product at a time until it is 100% finished and available for sale. Your future self will thank you for it!


I then used those notes to create checklists I could follow for future releases. That meant no more struggling to remember everything I need to do for future releases because it’s all there right in front of me.


Game. Changer.


Today, I wouldn’t dream of starting a new product without a clear outline of everything it will include – number of recipes, minimum number of photographs, templates and other value-added resources, etc… plus everything I need to do along the way to get it set up and ready to sell.

That outline helps me stay focused (and it prevents the dreaded “scope creep” where you end up including 3x more stuff than necessary).


Fortunately, I no longer need to document the steps to create and set up each new product because I have that part mostly memorized (and I still have those old checklists to refer back to when I need them) – but doing so in the beginning has saved me countless hours over the years.


Here’s why:


Whether you are creating and selling products, writing in-depth blog posts or product reviews, or shooting and editing food videos, there are a number of things you’ll need to do over and over again for each new project.


For example, if you are selling products – you’ll need to set up the product to collect payments and deliver it, create new sales and download pages, and write several types of emails (download instructions, follow up messages, and notifications to your lists and affiliates, if applicable).


Having a checklist makes it so much easier to do the 2nd – or 200th – time.

Now, I know this may sound really overwhelming if you’re just getting started.


I get it. That’s EXACTLY why I used to struggle so much with creating and releasing new products. I didn’t understand how to make it all work – so I’d get “stuck.”


But now, thanks to this 2-part process… I can now create 2-3 new products each month, instead of spending months and months spinning my wheels. 🙂

And now… you can, too! 🙂


Til Next Time,

Trish Lindemood
Chief Cook & Content Creator
KitchenBloggers.com

PS I’m about to release some brand new tools that will make new product creation even easier for you. Stay tuned for details! 🙂

Posted on

Monetization Monday: Making the Most of Your Best Posts

Happy Monetization Monday!

Today, I have a quick Monetization challenge for you. Go into Google Analytics (or whatever stat tracking program you use) and find your top 5 blog posts (or more if you have time).


Then, open up a new Excel document and add the name of the post, the url, and where the traffic is coming from (if you aren’t sure, what’s your best guess – organic, Facebook, Pinterest, etc…) in 3 columns.


Next, add a 4th column titled “Call to Action” or “Monetization Strategy” or something along those lines.


Now it’s time to take a closer look at each post. Look at each post with a “fresh set of eyes” and ask yourself … Is it obvious what you want your readers to do next after landing on your best content? 


In other words, does your best content feature a clear call-to-action to guide your readers to a) join your email list, b) join your Facebook group, c) buy your cookbook, d) hire you (if you offer services in addition to digital content), e) check out an affiliate offer (I’d try to get them on your list before you send them away to another offer, but sometimes it’s worth it go this route), or e) whatever your goal was in writing that post?


You may find you didn’t have a specific goal when you created that post. That’s okay. Now’s your chance to rectify it. 

Once you’ve worked out how you want to Monetize your top posts (if you haven’t already done so, of course!) – drop by the KitchenBlogger’s private Facebook group  and share a link to one of your newly Monetized posts in this thread:

https://www.facebook.com/groups/kitchenbloggers/permalink/856028914573606/

(Our private Facebook group is closed, but free to join. If you are not a member, just submit a request to join and I’ll get you in right away!) 


I’ll be keeping an eye on this thread and spot checking pages and offering feedback.

If you have questions, leave a comment on the Facebook thread and I’ll get back to you! 

That’s all I have for now.

‘Til Next Time,

Posted on

How to Write Fantabulous Product Reviews for Your Food Blog

I’ve long been a fan of publishing product reviews because they are a great way to serve your audience. If you invest the time to research different options or share why you love your favorite kitchen tools, you can save your readers a lot of time, money, and frustration in the long run.

Even if you find you really DISLIKE a product, you can still help your audience by letting them know what issues you experienced AND then offer alternatives that solve the problems you encountered.


What’s more, I’ve consistently made money by publishing in-depth product reviews. Here’s what works for me:


  • Always include pros and cons in every review. No product is perfect for everyone – so if a review is too over-the-top, it will lack credibility. A product review isn’t meant to be a hard core sales pitch. Instead, your goal is to help your readers find the best resources for them.
    .
  • Provide alternatives. When you include a valid “con” in your review – go the extra step to share viable alternatives. For example, if Product A has a high price tag, offer Product B as a lower cost alternative, (but explain what the trade off is for the lower cost). Again, your “job” is to help them choose the best solution, not to hard sell them on anything.
    .
  • Show how you use the tool or appliance in your own kitchen. If you don’t own the product, share ideas for how the tool or appliance can help them save time, save money, or achieve a healthier lifestyle. The easier you can make it for your readers to picture themselves achieving these results, the more likely they will be to invest in one for themselves.
    .
  • Understand the difference between features and benefits – and focus on the benefits. I spent my 20+ year corporate career in outside sales and marketing, and I can’t begin to tell you how many hours I’ve spent translating features into benefits that matter to customers.
    .
    A feature is merely a fact about a product, while a benefit is the value derived from it. The fact the Vitamix 64-oz. container incorporates the stainless steel blades into a single integrated unit is a feature. On its own, this fact doesn’t mean much. However, once you explain how fast and easy this design makes it to clean up after your morning smoothie without needing to disassemble and tinker with sharp blades and other parts, your readers can begin to see how this might make their morning routine a little bit easier.
    .
    Bottom Line: People don’t buy “features.” They buy the value those features give them, so share lots of real life examples with them to show how Product X can make their life better, easier, or more fun. 🙂
    .
  • A picture is worth a thousand words. So, include pictures – especially of your own favorite tools and appliances in use as you create your favorite recipes! If you don’t own a specific product, use a stock photo or use one from the manufacturer or retailer (make sure you have permission first).
    .
  • Send a note to your audience (via email and on social media) once your review is published. As you consistently share great material with your readers, you will become a trusted resource to them. Give them a little backstory on the review – why you decided to tackle it, why they might find it worthwhile, etc… Let them know you took the time to review the top products in X category for them – and would love to know their thoughts.
    .
    Keep the conversation open and ongoing. People appreciate when you genuinely try to make their lives easier.
    .
    TIP: Add this message to your email autoresponder (remove any timely content about the current weather, time of year, etc…) after you send the original message to your list. This will ensure new subscribers to your list don’t miss some of your best content.
  • Consistently link to your best in-depth product reviews with every new recipe you add that utilizes that tool or appliance. Content published on your site tends to get “buried” over time, but linking to it repeatedly from new posts will help keep it alive.
  • Always include a clear Call-to-Action. Take the time to spell out “what’s next” so your readers aren’t left wondering what they should do with all the great information you just shared with them.Something as simple as, “If you are ready to stop wasting time and money on ______, you can order your __ here” clearly shows your readers where they can order their own item, while reminding them of the benefits of doing so.

In short, I’ve found that the key to long-term success with product reviews is to go the extra mile for your readers – and to consistently over-deliver with a personal touch! 🙂

If you need some help getting started with helpful and profitable product reviews, check out this Healthy Small Kitchen Appliance PLR package. 


‘Til Next Time,

KB_About

Trish

Posted on

A Fun Way to Increase Reader Engagement for Your Food Blog

Increase Reader Engagement

Looking for a fun way to increase engagement with your readers, while adding value to your food or lifestyle blog? Here’s an idea that has worked really well for me…


Years ago, I ran a site called Web Copy Results for my freelance writing business. (It’s not online anymore because I no longer offer those services).

One important thing I learned from that experience was that running a short-term challenge was an EXCELLENT way to grow your email list and increase engagement with your audience.

Every September, I would host a 90 Day Content Marketing Challenge that would get shared and recommended by other bloggers like crazy. In fact, one email recommendation from a prominent blogger added over 300 new subscribers to my list in a single day! Plus, I always had more blog comments and made more affiliate sales during the challenge than I did any other time of the year.

(Another very important thing I learned was that 90 days is WAYYYYYYYYYY too long to host a daily challenge! LOL!!! 30 days or less is ideal…) 

Obviously, I can’t guarantee you’ll get the same results, but I am willing to bet that running a short-term challenge on your site WILL generate excitement and increase engagement with your readers.

My formula was simple: Each day I would write one new blog post sharing free tips on how to write effective web content/copy and send a short email covering the highlights of the new post with a link back to it.

If I knew then what I know now – I would have also converted all that new content into a value-packed, evergreen eCourse for those who missed the challenge start date, but I didn’t see the potential or understand how to set that up back then. We’ll talk more about that later .


As a food or lifestyle blogger, you can easily set something like this up on your own site. For example, you could:


  • Create a 30 day challenge on basic cooking or kitchen skills – “Become a Better Cook in 30 Days”
  • Offer a 30 day meal planning course that relates to your niche – “Master the Low Carb Lifestyle in 30 Days” (or vegetarian/vegan or gluten-free or… you get the idea)
  • Add a time or money-saving slant: “Turn One Trip to the Grocery Store into 30 Days of Meals”

That’s all I have for today – thanks so much for your time. I hope you have an awesome day!

Til Next Time,

IMG_5576

Trish Lindemood

KitchenBloggers.com
Feed Your Blog!

Posted on 1 Comment

How to Make Ready-to-Publish Food Content Fresh and Unique

I have one major “rule” when creating new ready-to-publish food content for KitchenBloggers:

The quality must be good enough that I would be willing to post it “as is” on one of my own websites.


In other words, if it’s not good enough for me, it’s NOT good enough to offer to you.


However, that rule is a bit misleading, because…

I would never post ANY PLR content – including the stuff I write myself – exactly “as is” on my own websites. 


So my own rule is more of a quality guideline than anything! 🙂  In my opinion, PLR is not meant to be used “as is” – it’s a valuable, time-saving resource, but not a finished product by itself.


Let Me Explain: Well-written and thoroughly researched PLR content is a great tool because it allows you to leverage someone else’s time, energy and resources.


For example, I invest more than $200 for ingredients, plus approximately 40 hours each month researching, shopping, cooking, photographing, and writing for my signature Bite-Sized Bundles recipe with original photo packs.


With high-quality PLR, you can let someone else do the heavy lifting of researching a topic and organizing all that material into something useable. Without question, you can save a ton of time and/or money by using good PLR as a starting point.


However… Any PLR – even the really well written variety – lacks the kind of personality and flair only YOU can add to it! By itself, PLR is a bit like one of those promotional cardboard cut-outs instead of the real celebrity… It won’t hold anyone’s attention for very long.


When you think about it, PLR HAS to be somewhat sterile to be usable. If I let my own personality or unique life experiences creep in there, you would “hear” my voice too clearly – and so would your audience.


They don’t come to your website or buy your products to “hear” me – they want YOU.


Therefore, it is up to YOU to breathe some life and character into it. Fortunately, you don’t have to reinvent the wheel to make PLR content uniquely your own. You just need to do some tweaking and share a little bit about yourself in the process. In about 10 – 15 minutes, you can do the following:


  1. Create a New Title. Ideally use the keyword phrase you are targeting for that page or post in your new title. (As long as it is relevant to the content, of course). .
  2. Write a New Intro Paragraph. If you don’t have time to do anything else, at least write your own introduction. Talk about how your mom made the best minestrone soup when you were growing up, but it was never the same from one pot to the next. Explain how she was able to stretch a dollar like nobody’s business by using whatever she had on hand…  Or share how you started using green cleaning supplies because you had a bad allergic reaction to the fumes from a commercial brand… .
    .
    Of course, these are just examples to show how you can weave your own life experiences into your PLR content. Personal life experiences like these are what really resonate with people – not a collection of safe and sterile facts. .
    .
  3. Add a Strong Call-to-Action at the End. Always “blog with intent.” When you put new content on your site or social media platforms, you should have a specific goal you want to accomplish with it. For example, you may want to invite your readers to join your mailing list, leave a comment, share the article or recipe on social media, sign up for your next webinar, or meet you at an upcoming networking event…Again, these are all just examples, but you get the idea. .
    .
    The key here is to pick ONE desired outcome and ASK for it. Don’t leave your audience guessing what they should do next. Give them a very clear “What’s Next” when they get to the end of your article or recipe. Never assume they’ll automatically “just do it.”
    .

I hope you found these tips helpful. If so, be sure put them to work for you right away! If you want more FREE food blog marketing tips like this – be sure to check out our active Facebook group here.