Has this ever happened to you?
You’re busy cooking up a storm and trying to snap beautiful shots for your food blog at the same time. You get the food plated and the lighting just how you like it… and you happily start snapping away and everything looks GREAT!
This might just be your Best. Work. Ever!
But then later – after you’ve eaten your subject, of course – you take a closer look and realize there is something horribly wrong with your shots. It could be something fairly easy to miss, like an errant dog hair that settled on your otherwise perfect plate or something a little more… MAJOR…
Like a chicken turtle.
Yes, you read that right. I said… Chicken. Turtle. See Exhibit A below.
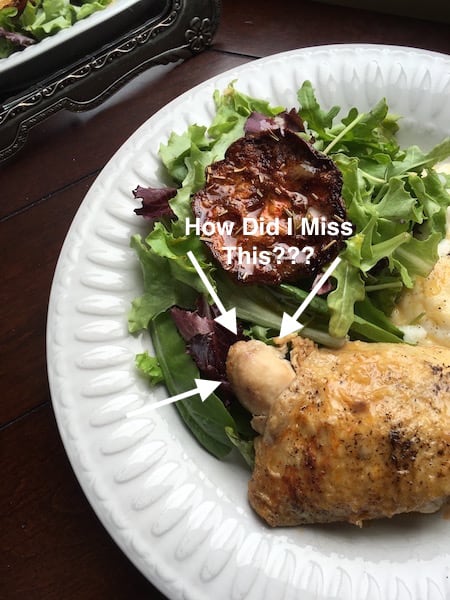
This was one of those times where once something has been seen, it cannot be unseen. I have no idea how I didn’t notice the little turtle head on my lovely braised chicken thigh while I was taking the shots – but I now have an entire series of otherwise decent pics that feature this weird little guy.
Overall, I liked the composition and color contrast in this picture, but I also didn’t care for the way the olive oil pooled in the roasted tomato. (Is it just me or are those things delicious?!) The way the light caught it made it look greasy.
Boo!
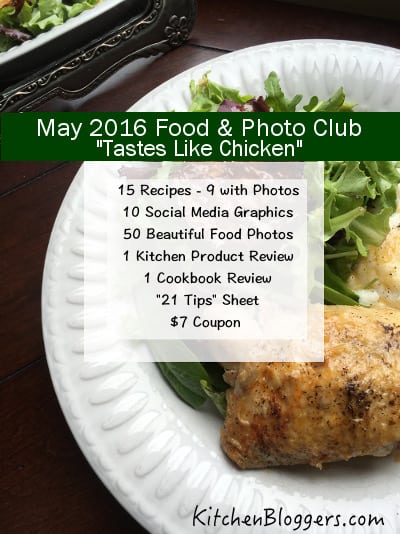
I hated the idea of trashing the whole series because of a little chicken turtle, so I decided to use it in my promotional graphic for my Tastes Like Chicken package.
Here’s how you can salvage your less-than-perfect pics, too.
The photo editing software I use is Gimp – I like it because it is powerful, flexible and … free. (Just Google ‘Gimp Download’ to find it). Gimp can be a little complicated, so there is a bit of a learning curve to it. Fortunately, it is open-source – so there are a ton of free tutorials available to walk you through it. If you prefer a different photo editing software, that is perfectly fine – use whatever you are comfortable using.
Basically, I just added a series of 3 rectangular shapes over the image – the dark green band on top and 2 transparent white boxes that allowed some of the image to come through, while providing a nice area to add text to explain what is included in the Tastes Like Chicken package.
Here is the final image:
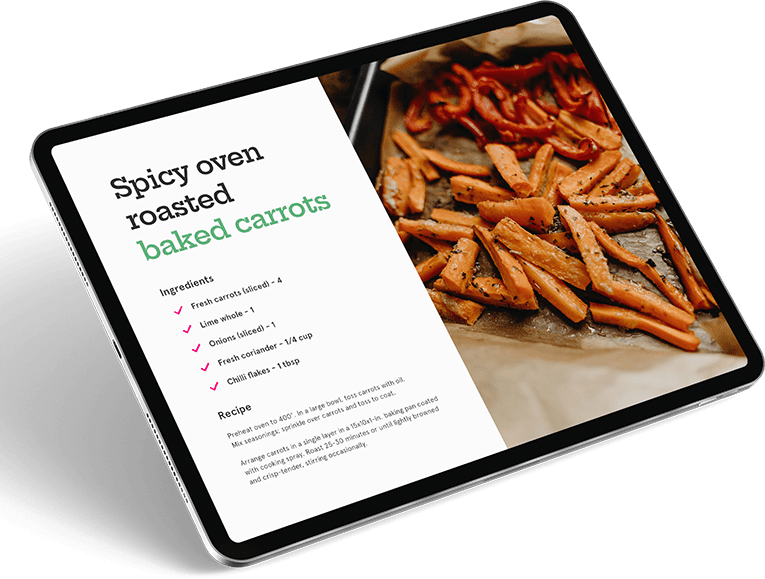
This concept isn’t just limited to “flawed” pics, by the way. This is also a great way to transform your own pics or those you purchase with PLR rights into something uniquely yours by creating your own social media graphics or cooking tip sheets to share with your readers.
That’s all I have for now, but will be back shortly with the tutorial. Hope you have an awesome day!
Til Next Time,

Trish Lindemood
Chief Cook & Content Creator
KitchenBloggers.com
PS Admit it… you totally looked for the chicken turtle in the final pic, didn’t you?? 🙂 He’s still there, but doesn’t look like he’s about to go exploring around the plate anymore!